- SF6 Relations
- 2025-10-11
SF6 (sulfur hexafluoride) gas is widely used in high-voltage electrical equipment—such as circuit breakers, transformers, and gas-insulated switchgear (GIS)—due to its excellent insulating and arc-quenching properties. However, SF6 is a potent greenhouse gas (with a global warming potential 23,900 times that of CO₂ over 100 years) and can cause equipment failure if leaked. For environmental protection and operational safety, regularly checking that SF6 gas is not leaking is critical. Below is a comprehensive guide on how to check for SF6 gas leaks effectively.
1. Preliminary Visual and Sensory Check: Start with the Basics
Before using specialized tools, a simple visual and sensory inspection can help identify obvious leaks. This step is quick and ideal for initial screening, especially for outdoor or easily accessible equipment.
- Visual Inspection: Examine the SF6 equipment’s connections (flanges, valves, and pipe joints), seals, and casing for signs of damage—such as cracks, corrosion, or loose bolts. Leaks often occur at these weak points; even small gaps can lead to gradual gas loss. Also, check for oil stains or dust accumulation around joints: SF6 gas may carry tiny particles, leaving visible residues.
- Sensory Cue (Limited Use): SF6 is odorless and non-toxic, so you cannot smell or taste leaks. However, if the equipment is in a confined space, a sudden drop in oxygen levels (rare but possible with large leaks) may cause dizziness—but this is a dangerous sign, not a reliable check method. Always prioritize tools over sensory guesswork.
This step is not enough to confirm “no leak” but helps narrow down areas that need further testing.
2. Soap Bubble Test: Low-Cost Leak Detection for Small Areas
The soap bubble test is one of the most affordable and accessible methods to check for small, localized SF6 leaks—perfect for joints, valves, and small pipe sections. Here’s how to do it:
- Prepare the Solution: Mix 1–2 tablespoons of liquid dish soap with 1 cup of water. Stir gently to avoid creating excessive foam (foam can hide bubbles).
- Clean the Target Area: Wipe the equipment’s joints, valves, or suspected leak points with a clean cloth to remove dirt and oil. This ensures the soap solution adheres properly.
- Apply the Solution: Use a brush or spray bottle to apply a thin layer of the soap solution to the area. Wait 1–2 minutes.
- Check for Bubbles: If SF6 is leaking, the gas will escape and form small, persistent bubbles in the soap film. Even tiny bubbles (1–2mm) indicate a leak—note the location for repairs.
Pros: Low cost, easy to perform, no special training needed. Cons: Not suitable for large areas or slow leaks (bubbles may take too long to form) and ineffective for equipment in high-temperature or windy environments (solution dries or blows away).
3. SF6 Gas Detectors: Professional Tools for Accurate Leak Checking
For reliable, precise leak detection—especially in large facilities or for hidden leaks—use specialized SF6 gas detectors. These tools are designed to sense trace amounts of SF6 (down to 0.1 ppm) and are the industry standard for confirming “no leak” status.
Types of SF6 Gas Detectors
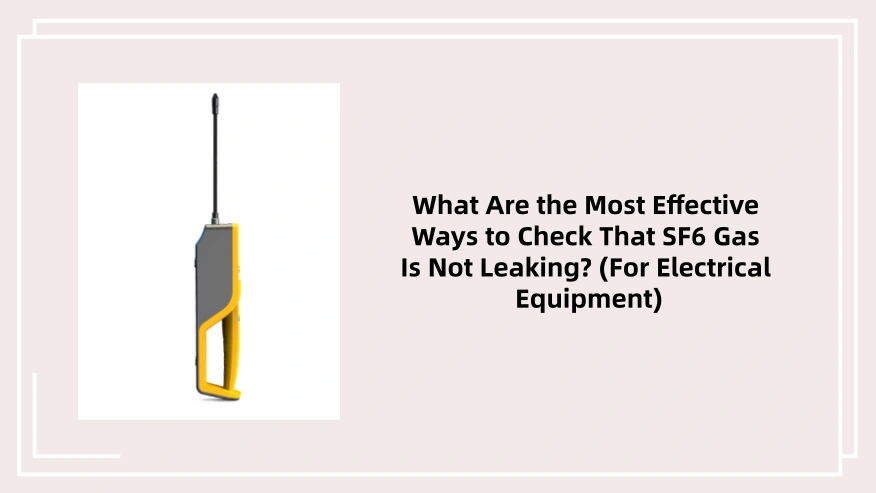
- Portable Detectors: Ideal for on-site, spot checks. They have a probe that you move along equipment surfaces (joints, valves, GIS enclosures). Most models use infrared (IR) or electron capture detection (ECD) technology—IR is more durable and less prone to interference.
- Fixed Detectors: Installed permanently in confined spaces (e.g., GIS rooms) to monitor SF6 levels 24/7. They trigger alarms if gas concentrations exceed safe limits, preventing long-term, unnoticed leaks.
How to Use a Portable SF6 Detector
- Calibrate the Device: Before use, calibrate the detector with a known concentration of SF6 (per the manufacturer’s instructions) to ensure accuracy. Uncalibrated tools may give false “no leak” readings.
- Adjust Settings: Set the detector to the appropriate sensitivity (e.g., 0.1–10 ppm) based on your equipment’s leak rate limits (typically <0.1% per year for new GIS).
- Scan Methodically: Hold the probe 1–2cm from the equipment surface, moving it slowly (1–2cm per second) along joints, valves, and welds. Pause at each connection for 5–10 seconds to let the detector register gas levels.
- Interpret Results: If the detector shows a steady reading of 0 ppm (or below the leak threshold), the area is leak-free. A sudden spike indicates a leak—mark the spot and repeat the test to confirm.
4. Pressure Monitoring: Long-Term Leak Tracking
SF6 equipment is sealed and maintained at a specific pressure (e.g., 0.5–1.0 MPa for GIS). A drop in pressure over time is a clear sign of a leak. This method is ideal for long-term monitoring (monthly or quarterly) to confirm no gradual gas loss.
Steps for Pressure Monitoring
- Record the Baseline Pressure: After filling the equipment with SF6, wait 24 hours (to stabilize temperature) and record the pressure using a calibrated pressure gauge. Note the temperature at the time—pressure varies with temperature, so you need to adjust for this.
- Schedule Regular Checks: Check the pressure monthly (or as per your maintenance schedule) at the same time of day (to minimize temperature differences).
- Calculate Pressure Changes: Use the ideal gas law (PV = nRT) to adjust the measured pressure to the baseline temperature. If the adjusted pressure is the same as the baseline, there is no leak. A consistent drop (e.g., >0.01 MPa per month) means gas is escaping.
Pros: Simple, low-effort for long-term tracking. Cons: Cannot pinpoint leak locations—only confirms if a leak exists. Pair it with a gas detector to find the source.
5. Infrared Imaging Technology: Advanced Leak Detection for Large Equipment
Infrared (IR) imaging cameras are used for large, complex equipment (e.g., entire GIS banks) where manual scanning is time-consuming. These cameras detect the thermal signature of SF6 gas, which absorbs IR radiation differently than air.
How It Works
- The IR camera emits IR light and captures the reflected signal. SF6 gas absorbs more IR light, creating a dark “cloud” in the image where gas is leaking.
- Operators can scan large areas quickly (e.g., a 10m GIS bank in 5–10 minutes) and identify leaks even in hard-to-reach spots (e.g., overhead joints).
Pros: Fast, non-contact, ideal for large-scale checks. Cons: Expensive—best for professional maintenance teams or facilities with frequent leak risks.
Key Tips to Ensure Reliable “No Leak” Checks
- Follow a Schedule: Check SF6 equipment quarterly for small leaks and annually for comprehensive testing (per IEC or IEEE standards).
- Train Personnel: Ensure staff using detectors or IR cameras are trained to calibrate tools and interpret results—false readings can lead to missed leaks.
- Document Everything: Record test dates, tools used, pressure readings, and results. This helps track equipment health over time and proves compliance with environmental regulations.
Checking that SF6 gas is not leaking requires a combination of simple, low-cost methods (soap bubble test, visual checks) and professional tools (gas detectors, IR imaging). By following these steps—starting with preliminary inspections, using precise detectors for confirmation, and monitoring pressure long-term—you can protect the environment, avoid equipment failure, and ensure safe operations. Remember: consistent, proactive checks are better than fixing leaks after they cause damage.
Leave a Reply